Posters are temporary promotions or advertisements that include both textual and graphic elements. They contain eye-catching images and information that are used to attract and persuade the public. Google Docs, an online tool, has proved to be effective in creating cheap and eye-catching posters. Also, Google Docs poster is easier to constructs since it is equipped with poster shapes and templates and thus easing the process.
Here are the crucial steps that are followed in the process of making posters using the Google Docs tool:
1. Open the Google Doc
Using any suitable web browser, go to drive.google.com. Then log in to Google docs using a relevant Google account.
2. Open a New document
Once the Google doc is opened, locate and click on the “black document.” It is located on the top-left side of the page, and it is characterized by a big rain plus”+” sign.
3. Rename the document
After clicking the “+” sign, a blank page opens that is accompanied by topmost bars and several empty cells arranged in rows and columns.
Click on the left-top side of the page named “Untitled document.” Highlight the words, delete and replace them with the name of your poster/document.
4. Click the Insert tab
On the top bars, locate and click on the “insert tab.” Once you’ve clicked the Insert tab, a drop-down menu opens below it. Then, locate and click the “drawing button” and wait for a new page to open.
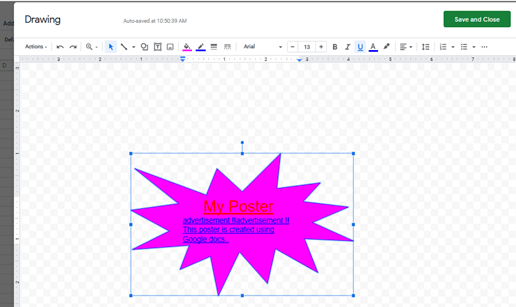
5. Designing and Drawing the poster
A blank page is displayed. This is where the user designs and constructs the poster. Google Docs has various shapes and symbols found on the “Symbols setting tab.” Therefore, users can choose the shape or symbol that fits his or her poster best.
Secondly, the background of the drawing page originally defaults (white), depending on the color preference of the user. Google Docs software allows changing of background color since it has a variety of colors.
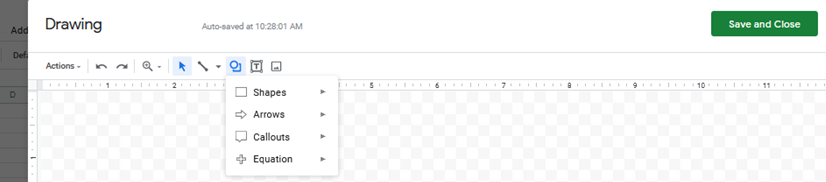
Callouts produce more attractive posters as compared to shapes. Similarly, the callout button contains different types of callouts, and the user can choose the best from the callouts available.
After you are done editing, drawing, and designing the poster, click the “Save and close” button found on the top-right side of the drawing box.
6. Customizing the poster
The poster is automatically drawn on the spreadsheet page after hitting the “save and close” button. On this page, the poster may need to be customized and repositioned. Insert tab, Format tab, and tool tab, present in Google Docs, makes sure the user can edit, reposition, add information and increase or decrease the size of the poster.
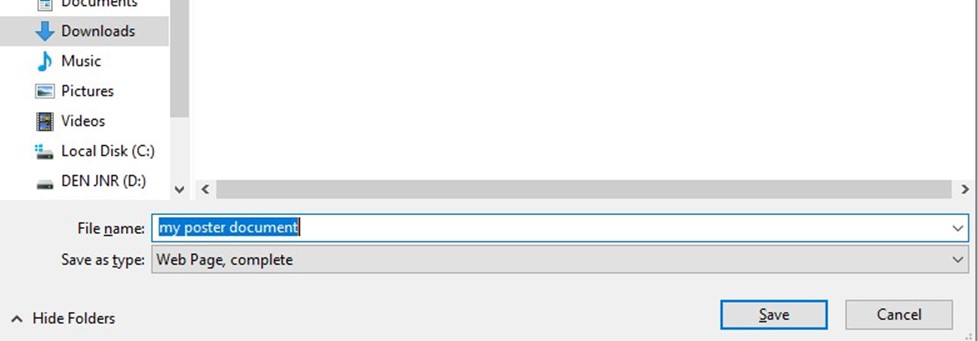
7.Save the poster
After you are done designing and editing the poster, you can save the document that contains it on your poster. Press ctrl+s, add the name of your document, and then hit the “save” button to save the document on your device.