The flyer is a file or a document that contains advisement information printed on it. There are a variety of tools that are used in making flyers. Google Docs is a good example of an online tool that can be used to make a flyer. When creating a flyer using this tool (Google Docs), all the user needs is an internet connection.
There are two methods to do this:
Using Google Docs templates
Google Docs ensure new users are covered; it provides various templates that can be used to develop a pattern for your flyer. Here are the steps to do this:
1. Open Google Docs
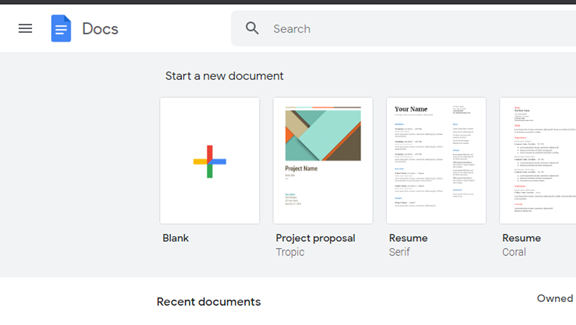
Using any suitable browser, open the Google Docs software. A user email account will be needed to use this tool. Therefore, log in using a relevant email account. While you’re logged in, go to docs.google.com.
2. Click the template galley
Click on the “template gallery” button found on the upper-right side of the page and scroll downwards.
If you can’t see the “template gallery” button, you have to activate it first. Here’s is a procedure to activate the template button:
- Click the “settings” button (from the dropdown menu).
- Locate the “templates” section; check the box to activate the templates.
3. Select the template
From the templates displayed, select the best template that fits your flyer. Click on it to open it.
4. Edit the template
The template selected comes with words and images; go ahead and edit the original detail to include yours. To edit the original text, click on it and replace the content in the text with your information. To edit the original images, right-click on the image, and from the dropdown menu, cut the image. To add new images, the insert tab is used.
Using a blank document
If no template fits your flyer, you can create your flyer from scratch. To do this, here are the steps:
1. Open Google Docs
Using any suitable browser, open the Google Docs software. A user email account will be needed to use this tool. Therefore, log in using a relevant email account. While you’re logged in, go to docs.google.com to access the Google Docs online tools.
2. Open a New document
Once the Google doc is opened, locate and click on the “black document” symbolized by a large rainbow plus sign.

3. Create the flyer
A blank page opens. This is where you fill in the flyer’s details. Google Docs has several tools that can be used to make the flyer attractive. They may include the insert tab that allows users to insert images in the flyer, shape, callouts, and various colors.
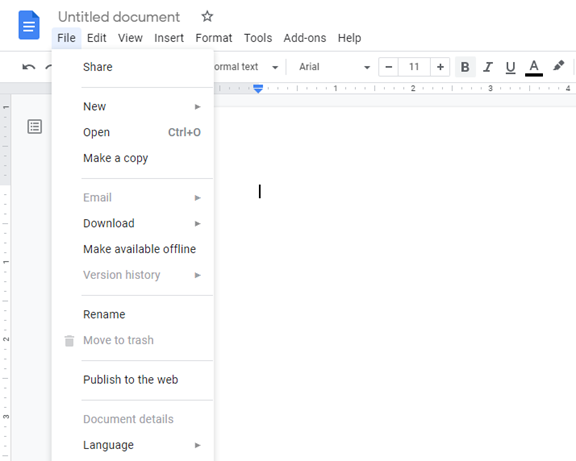
Once you’re done with creating the flyer, it is automatically saved in Google drive. You can also directly print the flyer from Google Docs by accessing the print option, file tab>print tab. Alternatively, press ctrl+p on your keyboard. Also, you can save the flyer document on your device: open your Google drive, locate and download the document.


